📦 Publish Your Own NPM package to Self-Hosted Nexus Repository With Docker - [Part One]


![📦 Publish Your Own NPM package to Self-Hosted Nexus Repository With Docker - [Part One]](https://cdn.hashnode.com/res/hashnode/image/stock/unsplash/yW9jdBmE1BY/upload/3ea6248f6849f457e215aa06786988f1.jpeg?w=1600&h=840&fit=crop&crop=entropy&auto=compress,format&format=webp)

Photo by Brandable Box on Unsplash
👋 Hello there!
We might have all been there and have had to develop multiple JS/TS projects in the organization we're working for, and we know it is not wise to just copy code from the old project to start in the new project because we see things could be reusable among the projects.
That's where we come up with building an SDK (Software Development Kit), simply an NPM package containing all the reusable functionalities that can be used across projects.
It is not hard to just build an NPM package and publish to the NPM registry and use it in multiple projects.
However, the problem here is NPM registry is "PUBLIC" 😏 and we don't want to or have conditions in our organization not to publish the package to the public.
That's what we are trying to solve 😃
Let's get started on what we need to do:
Install Docker
Run a container of Nexus Repo
Configure Nexus Repo for NPM registry
Create a sample SDK project
Publishing the package to the Nexus Repo
Create a sample client project to consume the published package
Now time to get our hands dirty with implementation 🏗️
In this part, we will just focus on getting the Nexus repo up and running.
🗄️ Nexus Repo
(1). Install Docker
It is straightforward, and you can just follow the Docker official website.

You should have Docker running like in the above image (Green Whale Status 🐳 ).
(2). Run a container of Nexus Repo
If you have never had experience with Docker before, don't panic. What we will be doing here is:
Getting a copy of Nexus Repo (in Docker, it is called an "Image")
Running the Nexus Repo (in Docker, we run the container using the above image)
Okay, first let's get the image from the Docker hub.
Because I am using Apple Silicon MacBook, I have to use this image klo2k/nexus3. If you are using something else than mine (Windows or Intel-Mac), you should use this image sonatype/nexus3. It will be the same for the next steps for the two images.
So simply run the below command in your terminal:
$ docker run -d -p 8081:8081 --name nexus klo2k/nexus3
or
$ docker run -d -p 8081:8081 --name nexus sonatype/nexus3
After done, you should have the container running (named nexus)

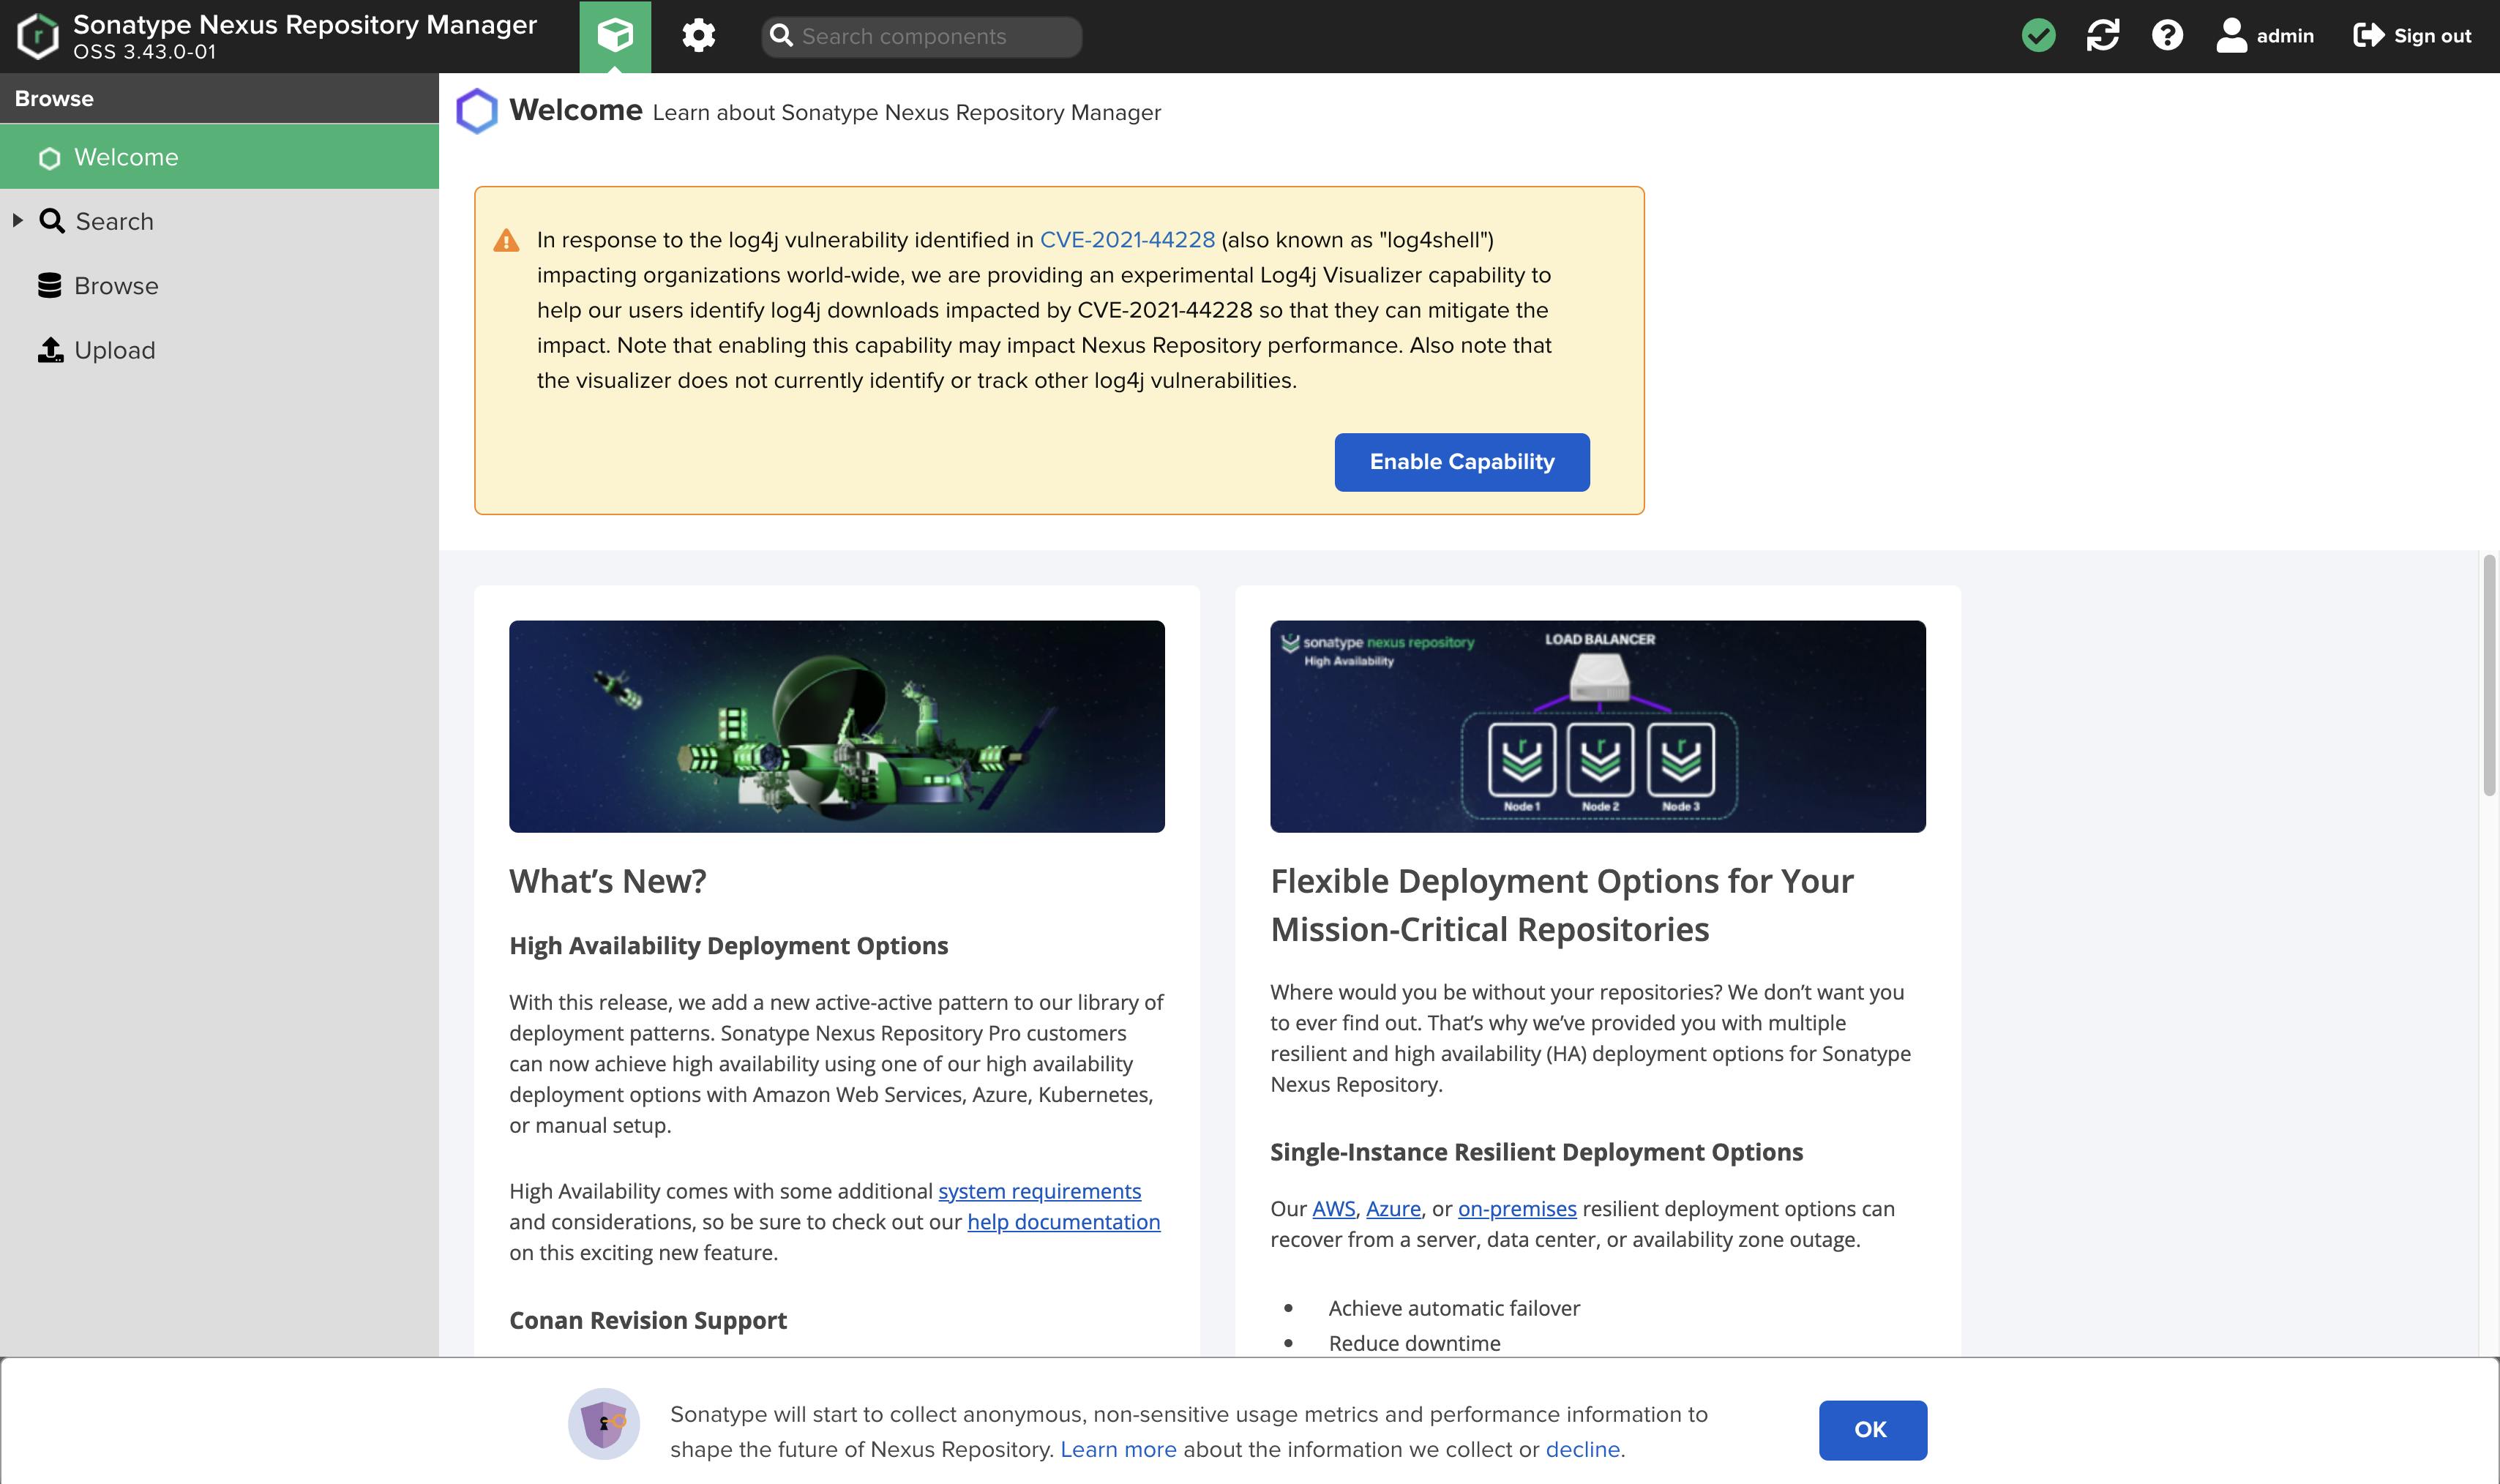
And when you go to http://locahost:8081, you should see as below too.

Great 🚀... let's sign in.
The default user name will be admin. And for getting the password, run the below command.
$ docker container exec nexus cat nexus-data/admin.password
Use the username and password to sign in. You will be required to:
Set new password
Configure Anonymous Access (Let's choose "Disable anonymous access")
After done, you will get to see as below.
Awesome 🎉 ... We have done with part one.
Let's stay tuned and check out part two once it is available.